 |
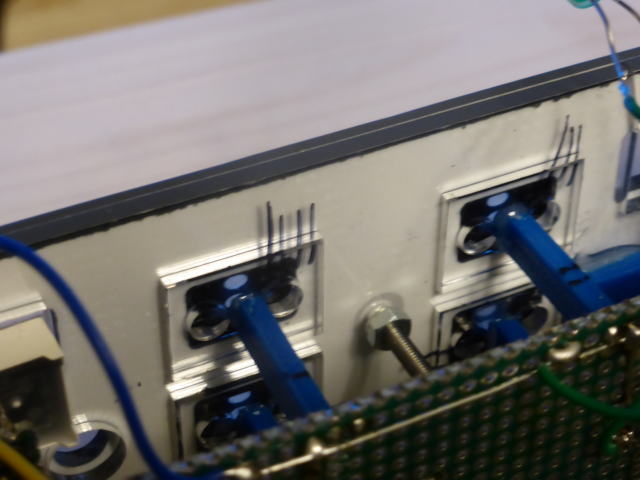
LEDの取付には工夫が必要です。 押ボタンの裏側は3mmのアクリル板がついていて5mmの穴が2つ開いています。 その穴の一方にLEDを挿込んで点灯させてみましたが点灯しているのがほとんどわかりませんでした。 先の丸いLEDを使ったせいかもしれません。 光のほとんどが丸い先端方向に出て横方向にはほとんど出ないせいと思われます。 先がフラットのLEDを注文してありますので入手次第テストします。 How to install the LED requires ingenuity. The back side of the pushbutton has 3 mm acrylic board and two 5 mm holes are open. I tried to turn on the LED by inserting the LED in one of the holes, but I could hardly understand that it was lit. It may be due to the use of the round LED. It seems that most of the light goes out to the round tip direction and hardly comes out in the horizontal direction. We have ordered flat LEDs so we will test it as soon as it is available. |
||||||
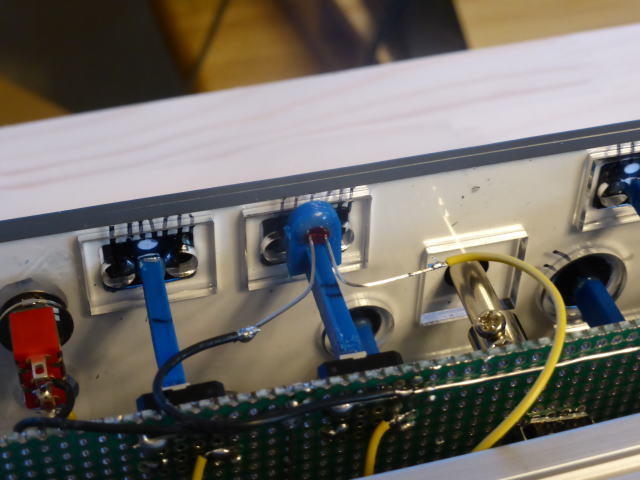 |
押しボタンのLEDは5mmの広角タイプの青色を注文してあります。 入荷まで2から3週間かかります。 とりあえず3mmの赤色LEDを取り付けました。 LEDのブラケットは3Dプリンターで印刷しました。 The pushbutton LED ordered a 5 mm wide angle type blue color. It takes 2 to 3 weeks to arrive. For now, we installed a 3 mm red LED. LED bracket printed with 3D printer. |
||||||
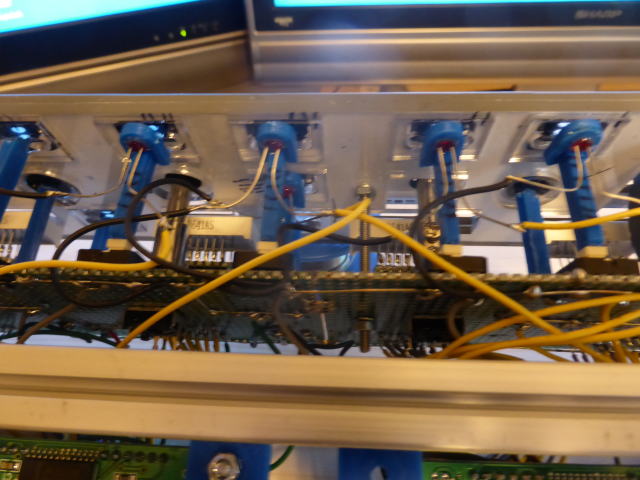 |
主な押しボタン(7個)にLEDを取り付けました。 I attached the LED to the main push button (7 pieces). |
||||||
 |
|||||||
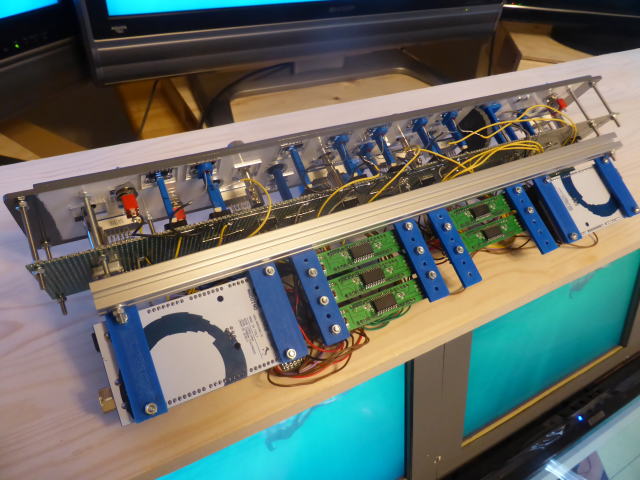
| LEDの動作テストです。 ボタントップにLEDの窓が2つあります。 光るのは下の窓だけです。 なぜならLEDは下だけに付けたからです It is an operation test of LED. It's a bit dark. There are two LED windows on the button top. It is only the lower window that glows. Because I attached the LED only to the bottom. |
|||||||