 |
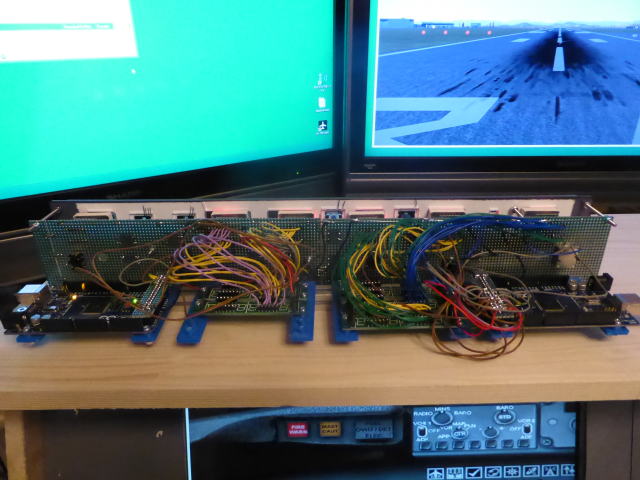
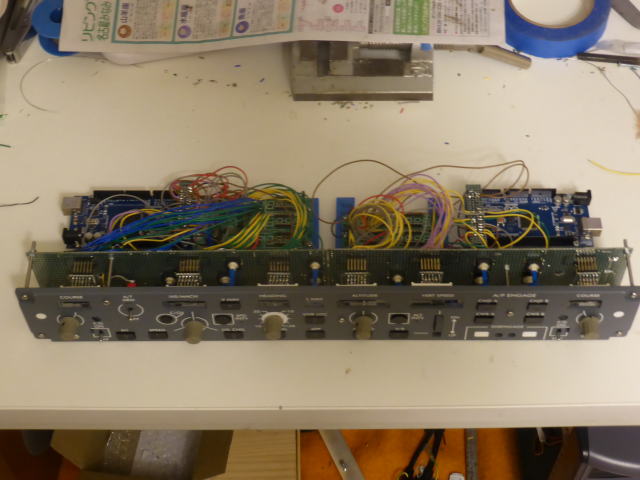
下記の3種類の配線をしました。 ・COURSE(キャプテン側) ・IAS/MACH ・HEADING I did wiring of the following three kinds. ・COURSE(For captain) ・IAS/MACH ・HEADING |
||||||
5種類の数値表示とその設定ができるようになりました。 Five kinds of numerical display and setting can be done. |
|||||||
 |
押しボタンスイッチも配線しました。 I also wired the pushbutton switch. |
||||||
押しボタンスイッチの動作テストです。 LEDはまだ付いていません。 It is an operation test of push button switch. LED is not attached yet. |
|||||||
| これまではデフォルトの737でテストしました。 機体をPMDG737に変えた場合はこれまでのデフォルト737の設定では動きません。 PMDG737に合わせて設定をし直しました。 設定の仕方は少し難しかったですが2日かかって何とか設定できました。 押ボタンのLEDはまだ付けていません。 I tested it by default 737 so far. When changing the aircraft to PMDG 737, it will not work with the default 737 setting so far. We set again according to PMDG 737. How to set it was a little difficult but it took 2 days to set it up. The pushbutton LED is not attached yet. |
|||||||
押ボタンのLEDのテストをしました。 LEDを押ボタンへ取付る方法は難しいのでとりあえず取付けないでテストをしました。 正常に点灯させることができました。 これで動作させるためのすべての設定方法は理解できました。 I tested the pushbutton LED. Since the method of attaching the LED to the pushbutton is difficult, we tested it without installing it for the time being. I was able to light it normally. I understand all the setting methods to make it work. |
|||||||